For creating new virtual servers from Vultr, follow the following steps:
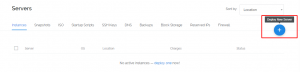
- Login to your Vultr Account, and click on “Plus (+)” on the right side top corner to deploy a new server.
- Now select your Server location. Select the location nearest to your current location to reduce server latency.

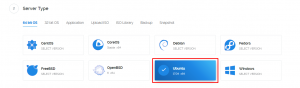
- Select Server Type such as server’s operating system and version (32-bit or 64-bit).
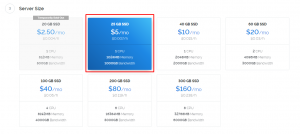
- After that select your Server Size. Choose the best option that suits your budget.
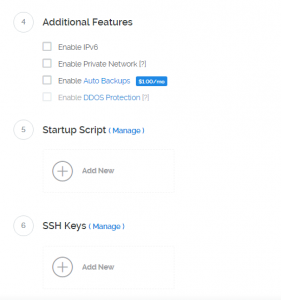
- You can even add Additional options such as Enable IPv6, Private Server or Auto Backups. You have the option to Add startup script after deploying or even Add SSH keys for your newly deployed server.
- Now enter your Server Hostname and add a Label to your server.

- Finalize it by deploying your server.

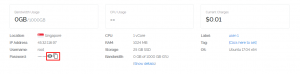
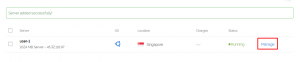
Now, manage your newly deployed server from server panel on vultr by clicking on “Manage” link beside it.
All your server details will be provided here. To see your password click on below icon to view or copy your password.