FileZilla Client is a free, open source FTP client. It supports FTP, SFTP, and FTPS (FTP over SSL/TLS). The client is available on many platforms, binaries for Windows, Linux, and Mac OS X are provided.
Once you have installed FileZilla Client on your PC, now you can use it to add, remove and edit your server files.
Here is the step by step documentation on how to use FileZilla Client.
Connect your server to FileZilla
The very first step to edit your files using FileZilla is to connect your server to FileZilla Client.
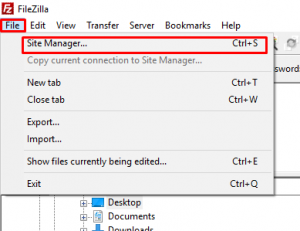
First, open your FileZilla Client on your computer. Now go to File > Site Manager or simply use shortcut key “CTRL + S” to open Site Manager. The Site Manager keeps track on all of your server that you have connected to FileZilla.
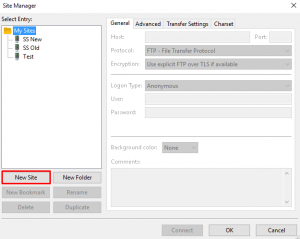
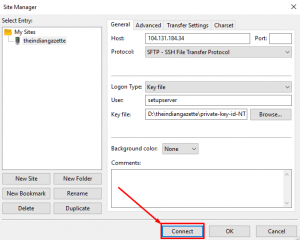
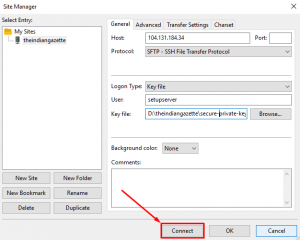
Now to connect your server to FileZilla click on “New Site” button just below the Select Entry Tab.
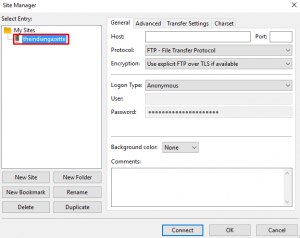
First give a name to your server, for eg: ‘theindiangazette‘. This name is only used in Site Manager as a label to your server so that every time if you need to connect it you don’t have to remember your server IP addresses.
Now you need your server’s IP address and your SSH username and it’s password to connect to your server.
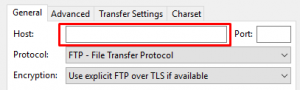
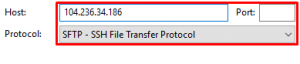
First enter your server’s IP Address in the Host field, for me its 104.236.34.186 and select SFTP protocol below it. You don’t have to enter anything in the port field as by default SFTP uses port 22 for file transfer.
After this you have to select Logon Type.
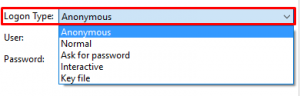 There are number of options available for login to your server, but mostly we only need two of them:
- Normal – Choose this type, for password based login.
- Key file – choose this type, for SSH keys based login.
Now its time to connect your server to FileZilla based on login options discussed above:
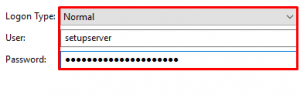
Password based Login
If your server uses password based login, then select “Normal” option in Logon Type. After that enter username and password to login to your server in the fields below it.
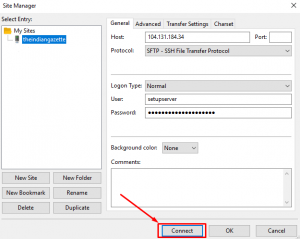
After filling all the server details click on “Connect” button below the window.
If you connect your server for the first time in FileZilla, the following popup will appear:
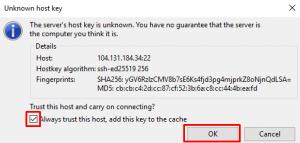
Check the checkbox and click on “OK” button and now you will be connected to your server.
SSH Key based Login
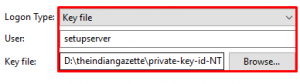
If your server uses ssh key for login, then select “Key File” option in Logon Type. After that enter username and path to your “Private SSH Key” file or browse from your local computer.
After filling all the server details click on “Connect” button below the window.
If you connect your server for the first time in FileZilla, the following popup will appear:
Check the checkbox and click on “OK” button and now you will be connected to your server.
Secure SSH Key based Login
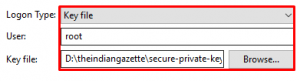
If your server uses password protected ssh key for login, then select “Key File” option in Logon Type. After that enter username and path to your “Private SSH Key” file or browse from your local computer.
After filling all the server details click on “Connect” button below the window.
Now, you might be asked to convert your ssh key file.
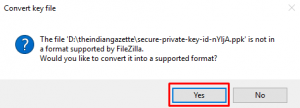
Click on “Yes” to convert the format of the file. Now you will be asked to enter your “SSH Key Password“, this password is the same as the encryption password you provided when encrypting your SSH Keys.
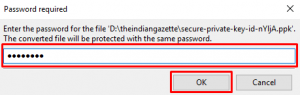
Enter your SSH Key Password and click on “OK” button, your ssh key file will be converted to another format. Now you can connect your server using that file.
If you connect your server for the first time in FileZilla, the following popup will appear:
Check the checkbox and click on “OK” button and now you will be connected to your server.
Edit files from FileZilla
After you connect your server in FileZilla, your screen will appear like this:
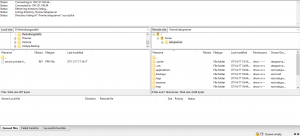
The left side Portion is your local Area whereas the portion to your right will be your Server Area.
Now to edit your server files, right click on file and select “View/Edit” option to open that file on your local machine.
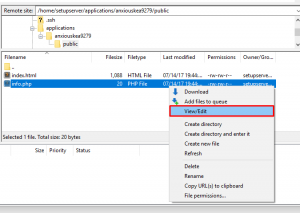
The file will open in your local machine in the predefined text editor for every file type.
After editing your file, save the file by pressing CTRL + S and you will be prompted that your file contents have changed.
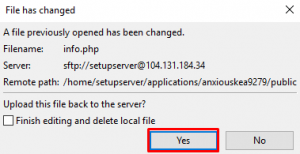
Click on “Yes” and your file will be uploaded to your server. If you want to delete the local file which was downloaded while editing, check the checkbox and your local file will be deleted after a successful upload.
For Adding new files to the server just drag and drop your files from Local Area to Server Area. But make sure to change the directory on Server Area.
To delete a file right click on the file and choose “Delete” option and your file will be deleted from your server. But make sure you have a backup before removing any files, as once the file is deleted from your server there is no way you can get it back.