In this tutorial, we will show you how to migrate your application to SetupServer.io
Follow above video or our step by step documentation:
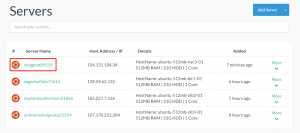
First Login to your SetupServer.io Account. Select your Server in which you want to migrate your web application or else add a new server.
Add a new “Blank App” to your server. If you don’t know how to add Blank App to your Server, see our documentation – Add App to Server and follow the instructions.
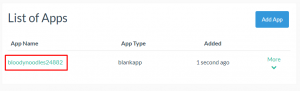
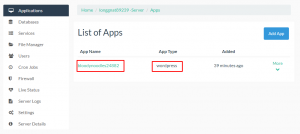
You can view your Blank App on your Application List. Now select that Blank App.
Now go to Migration page from left side navigation menu.
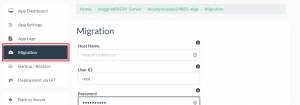
Now you will need to fill all the following details for migrating your web application.
- Host Name – Enter the Host name of your server from which you want to migrate App.

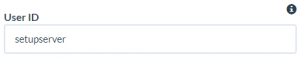
- User ID – Enter root user id of your server from which you want to migrate your App.
- Password – Enter Password to login to your Server from which you want to migrate App.

- Migrate From – From where you want to Migrate your App. For example – ServerAvatar, ServerPilot or from any other source.

- App Type – Select App Type of your migrated App. For example – WordPress or OpenCart.

- Installed App Path – Enter your full installation path of your application. For example, for SetupServer the full app installation path will be
/home/USER_NAME/applications/APP_NAME/public
and for ServerAvatar it would be
/var/www/yourdomain.com/html

- Database Type – Select the type of your current App database. For example MySQL

- Database Port – Select your app database port on which your database is present.

- Database Name – Enter your Database name. You can find it in
wp_configfile.
- Database ID – Enter your database user id, which you use to access your database. You can find it in
wp_configfile.
- Database Password – Enter your database Password, which you use to access your database. You can find it in
wp_configfile.
After completing all the above details, click on “Migrate App” button to migrate your application to SetupServer from other sources or else migrate your application between two servers.
On the successful migration of your app, your app will be listed as Applications List with App Type as ‘WordPress‘ as you have migrated WordPress app to a different server and now there will be no Blank App present in the Application List.
Now add a website to your migrated app, and you are ready to go live again. See our documentation – Add Website to your App.