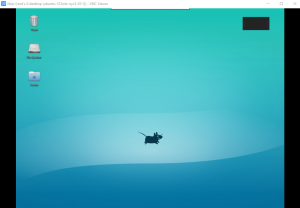
For using your server as a remote desktop, “Remote Desktop (VNC)” must be installed on your server. If you haven’t install Remote Desktop (VNC), visit our documentation on Add Packages/Services to Server.
Now, you must have some additional software installed on your Computer or Laptop from which you want to control your Server. There are plenty of options available for Windows users but we would prefer RealVNC. RealVNC has a multi platform support so apart from windows OS, you can choose from all the different available options like MacOS, Raspberry Pi, Android, Linux, Chrome, and iOS.
You can install VNC Viewer from the following link – https://www.realvnc.com/download/viewer/
After installing VNC Viewer, open it. We are currently using Windows OS so we have downloaded Windows Version of VNC Viewer. It will look like this:
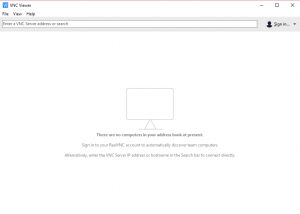
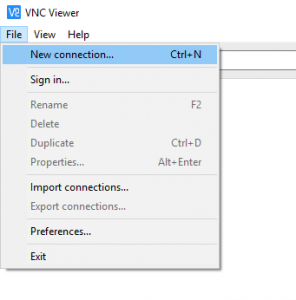
Now, go to File > New Connection for creating a connection to your server.
After that fill the data on following Properties Window.
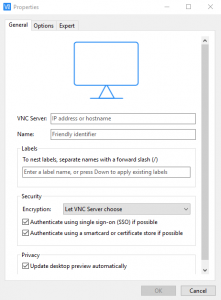
- VNC Server – Enter your Server’s IP Address or Hostname along with the access port. For eg:
SERVER_IP_ADDRESS::5901, as the default port for VNC is 5901. - Name – Enter a label for this new VNC connection.
We have provided an example for this below:
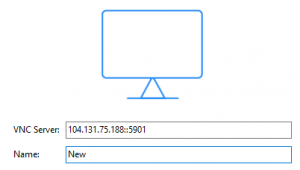
Now your new connection is configured and ready for connection. To connect, double click on your newly created connection.
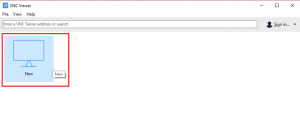
Following window will pop up after connecting:
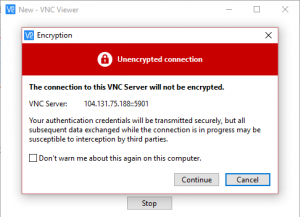
As of now, ignore this and click on “Continue” button. After that, you will be asked for a password.
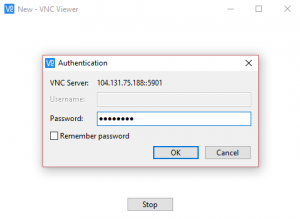
Enter the password that you have provided will installing Remote Desktop (VNC) and hit “OK” button. Now you are connected to your server as Remote Desktop and can use your mouse and keyboard just like another Desktop environment.
